Preventing Stress on Exhaust Hangers
Challenge: Premature Failure of Exhaust Hangers & Isolators
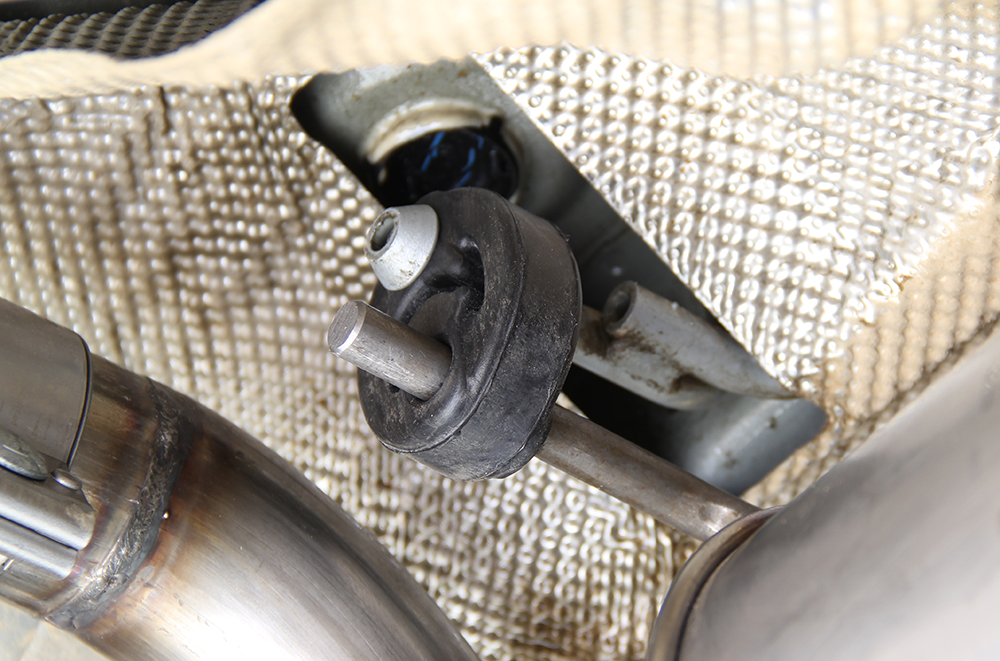
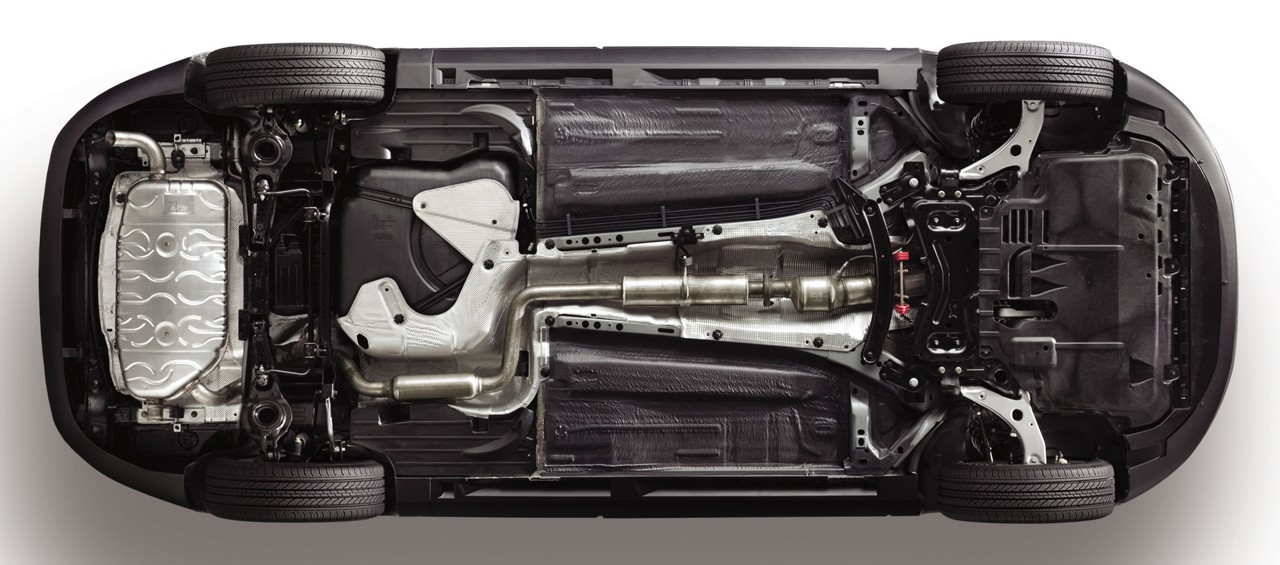
Installing new exhaust components without neutralizing the entire system can place unnecessary strain on the hangers and isolators, causing premature component failure or excessive noise and vibration inside the vehicle.
Solution: Checklist for Taking the Stress Out of Hanging Exhaust
When installation of exhaust components is complete, be sure to check for any isolators with excessive tension. To alleviate this tension, follow these steps:
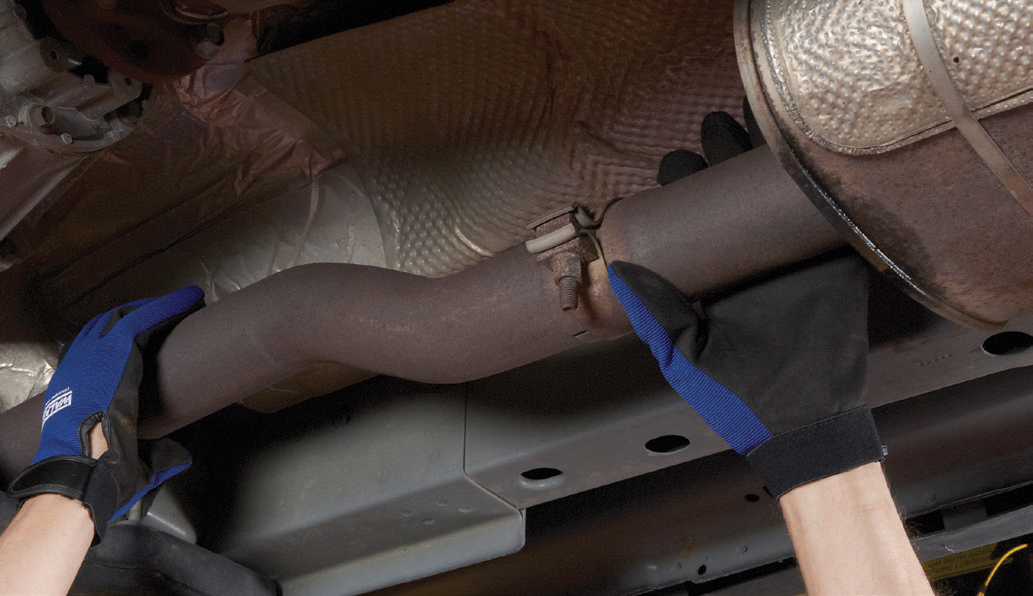
- With the vehicle and the exhaust at operating temperature, loosen all exhaust clamps and flange joints (if applicable). WARNING: Use caution; the exhaust system may be extremely hot.

2. Reposition any affected exhaust components until the isolators hang freely without excessive tension in either direction. For most slip-fit connections, the recommended pipe insertion is minimum of ¾" and maximum of 3". For flanged connections, closely inspect all body and exhaust hangers to ensure they are aligned properly.

3. Tighten all connections, starting from the front of the vehicle.

NOTE: With the exhaust secured and cooled, the rear hanger may be angled slightly forward due to length contraction of the system when cold.
Learn more about quality exhaust parts, find the right car part, or find a local repair shop today.
The content contained in this article is for informational purposes only and should not be used in lieu of seeking professional advice from a certified technician or mechanic. We encourage you to consult with a certified technician or mechanic if you have specific questions or concerns relating to any of the topics covered herein. Under no circumstances will we be liable for any loss or damage caused by your reliance on any content.