Determining if a Catalytic Converter Needs Replacing
Catalytic converters don’t fail on their own – follow these five recommended steps prior to replacing a catalytic converter.
Step 1:
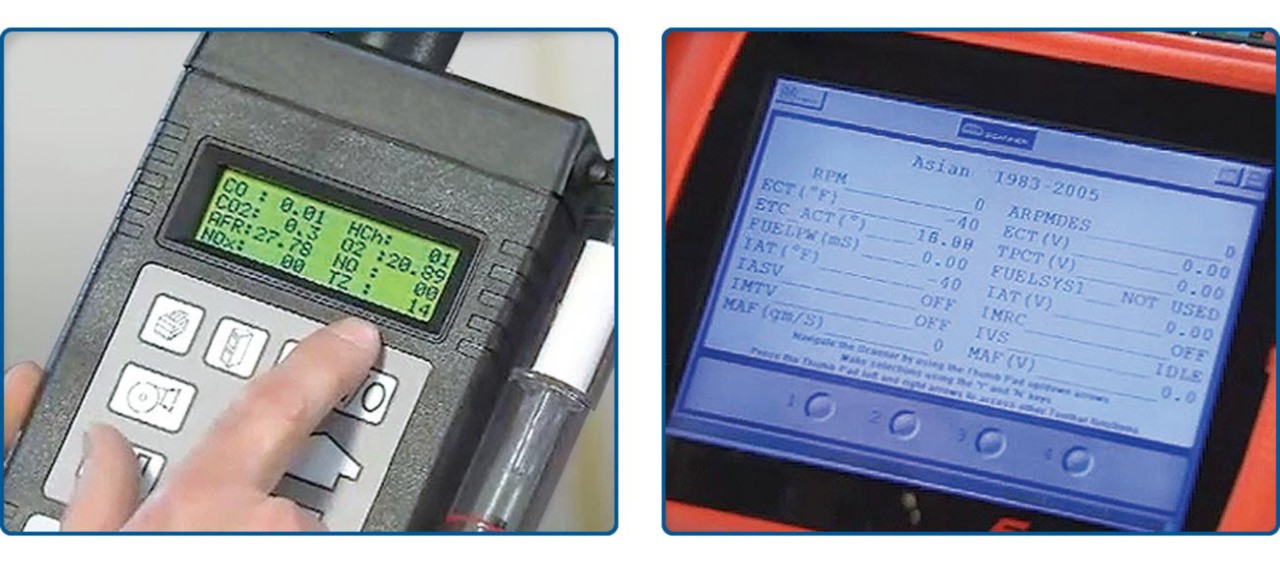
Retrieve and repair all diagnostic trouble codes (DTC); check for any available technical service bulletins (TSB) or powertrain control module (PCM) re-flash updates
Any condition that increases emissions or affects sensor readings could cause a false DTC, even if the converter is in proper working order. Many OBDII trouble codes will affect converter performance. Correct all other codes prior to correcting converter codes.
Re-flashing is the process of updating the PCM with the latest program available from the vehicle manufacturer. In some cases, manufacturers will release TSBs indicating that a re-flash of the PCM will help resolve emissions problems.
Step 2:
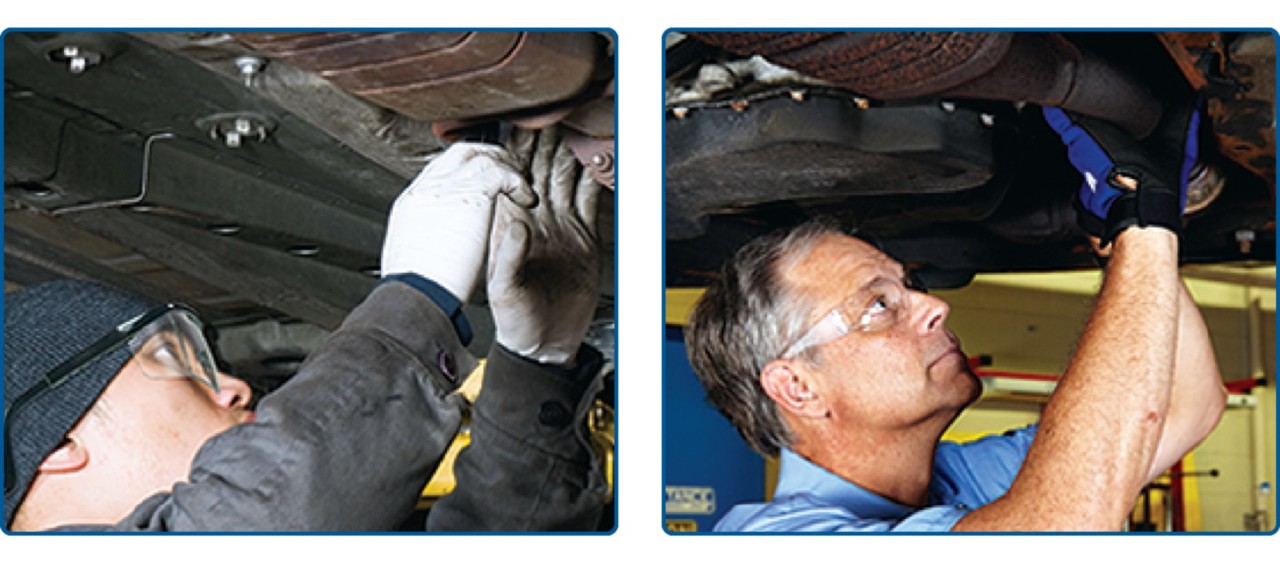
Correct exhaust system leaks
Inspection of the entire exhaust system is critical; however, it is important to ensure that the following areas are part of your inspection:
- Check all weld areas for cracks, especially oxygen (O2) sensor ports.
- Inspect all pipe connections for improper alignment or damaged gaskets.
- Examine clamp connections for leaks.
- Look at the exhaust manifold for leaks.
- Pay attention to any flex-pipe in the system.
Even a small leak anywhere in the exhaust system can draw a significant amount of oxygen into the system. Since catalytic converters have limited oxygen storage capacity, the rear O2 sensor will detect the excessive oxygen and generate a converter efficiency code. Leaks in the exhaust system can affect oxygen storage in the converter and lead to improper O2 sensor readings, affecting the air/fuel ratio (AFR) balance.
Step 3:
Make sure vehicle is in proper fuel control
O2 sensors are critical to fuel control and to the PCM’s converter diagnostics. Check O2 sensor operation to ensure vehicle is in fuel control. On most applications, the front O2 sensor should be switching around 450mV, while the rear O2 sensor should be above or equal to 450mV, typically 650-850mV. If the rear O2 sensor is not above or equal to 450mV, check the vehicle’s emissions with a four- or five-gas analyzer. The front AFR sensors should indicate AFR of 14.7:1 under most conditions. Many diagnostic tools exist to accurately test O2 sensors. Verify operation before replacing any sensors.
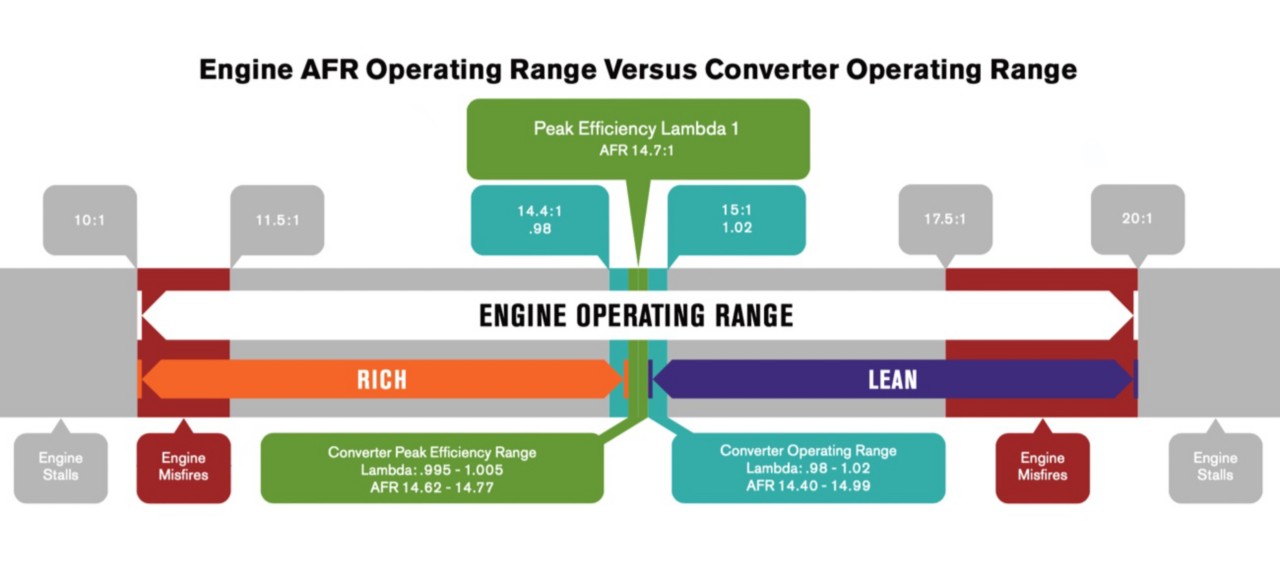
Proper AFR is essential for converter efficiency. The lower the AFR, the richer the mixture; the higher the AFR, the leaner the mixture.
If you want the converter to work properly or efficiently, the AFR range is very precise (14.62-14.77).
O2 sensor readings can help identify AFR issues:
- Front O2 sensor should be switching rapidly and averaging 450mV
- Rear O2 sensor should be steady and equal or above 450mV
- Fuel trims should be less than +/- 8%
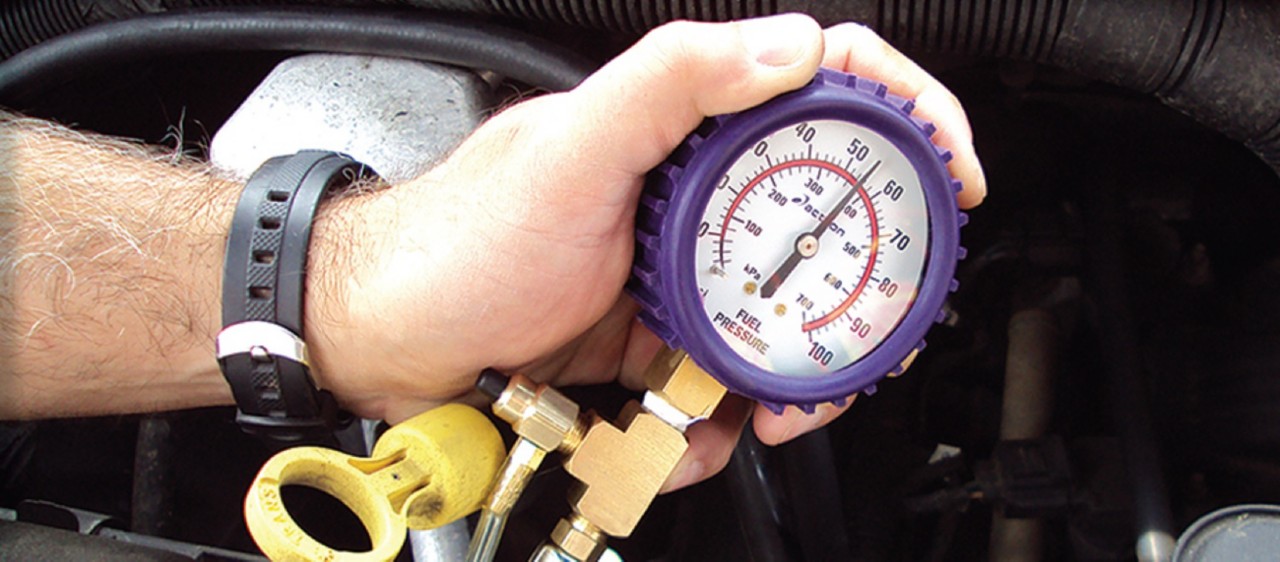
5-Gas analyzer can also help identify AFR issues:
At idle, O2 and CO readings should be low and equal, between 0-.35% and HC <35ppm. This indicates a proper fuel control. In addition, NOx levels should be within an acceptable range - typically under 700ppm while engine is under load. Readings within the acceptable ranges indicate a properly functioning converter.
Troubleshooting fuel control issues:
- Check for and repair exhaust, intake and crankcase ventilation leaks
- Make sure fuel injectors and O2 sensors are functioning properly
- Check for contaminated fuel (water/diesel/E85)
A vehicle’s engine operates in a broad range of Lambda/AFR but the converter will only operate within a small range – .98-1.02 Lambda or 14.40-14.99 AFR. However, the converter will only operate efficiently under a narrower fuel control range – .995-1.005 Lambda or 14.62-14.77 AFR.
Checking for Cylinder Contribution Imbalance
Besides fuel control, there are other factors that can significantly affect converter efficiency such as cylinder imbalance which can be caused by:
- Leaking or restricted fuel injectors.
- Intake or exhaust leaks isolated to a single cylinder.
- Weak spark from worn/fouled spark plugs or other worn ignition components.
- Mechanical issues, like a leaking valve causing low compression or excessive carbon buildup.
Step 4:
Test for contamination
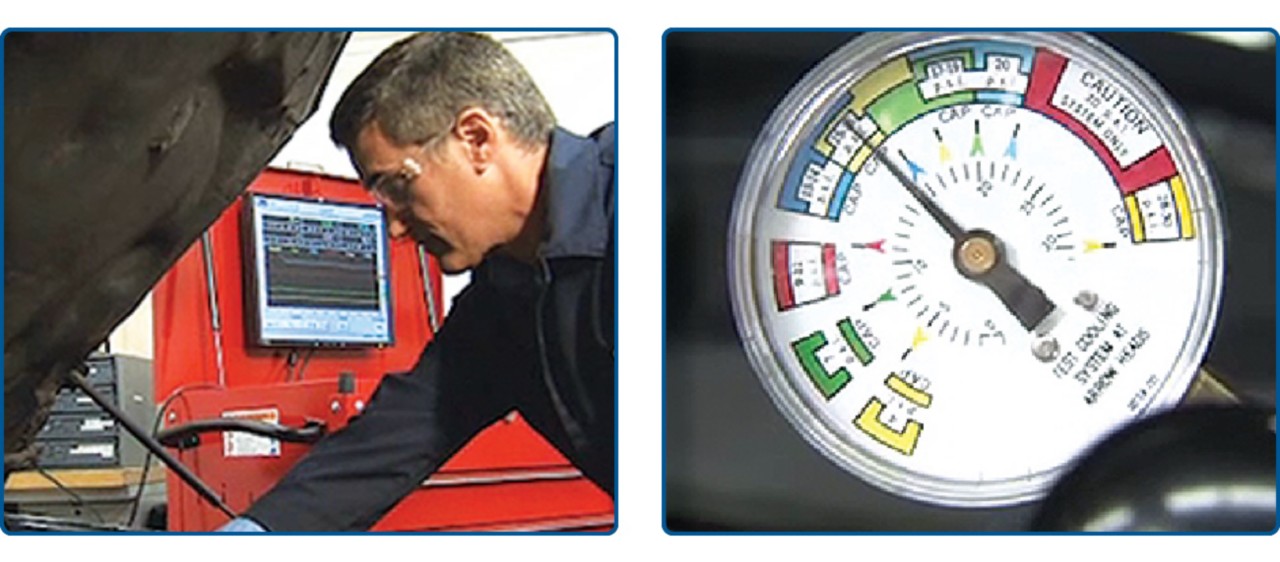
Converter poisoning occurs when the converter is exposed to substances that coat its working surfaces, enveloping the catalyst to the point it cannot contact and treat exhaust. An internal leak in the cooling system can allow coolant to enter the exhaust system and poison the catalytic converter.
- Perform a leak-down test to make sure the cooling system holds system pressure (check pressure cap for exact pressure) for 15 minutes.
- Test for contaminated fuel or additives (E85, diesel).
- Check for excessive oil consumption (burning oil).
- High-mileage engines can have many mechanical problems that contribute to contamination.
- Perform a compression check to identify the condition of piston rings, valve train and combustion chambers.
- Inspect EGR valve and passages for proper operation and cleaned, if necessary.
Step 5:
Choose the correct part for the application
If you determine that you need to replace the converter, select a premium Walker® catalytic converter. To ensure that you select the correct aftermarket replacement converter, use the Walker Find My Part tool. Make sure to first select the state the vehicle is operated in and then enter the vehicle’s year, make and model. If complying with California Air Resources Board (CARB) requirements, reference the vehicle’s year, make, model and Engine Family Number (EFN) to find the right part.
Learn more about quality exhaust parts, find the right car part, or find a local repair shop today.
The content contained in this article is for informational purposes only and should not be used in lieu of seeking professional advice from a certified technician or mechanic. We encourage you to consult with a certified technician or mechanic if you have specific questions or concerns relating to any of the topics covered herein. Under no circumstances will we be liable for any loss or damage caused by your reliance on any content.