Taking a Closer Look
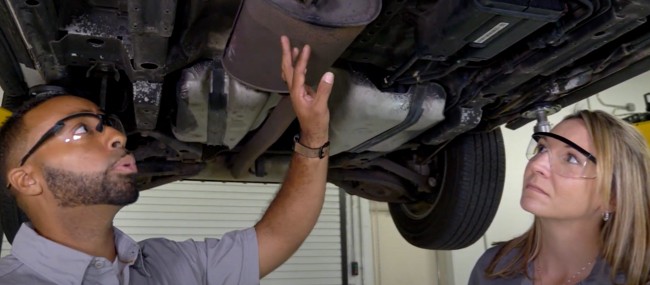
When a customer brings in a vehicle with an exhaust system concern, be sure to do a thorough examination of the entire exhaust system before beginning the repair. Looking for signs of premature failure throughout the exhaust system ensures that all necessary repairs are completed rather than just the problem that initially brought the customer into your shop. From looking for leaks to inspecting the catalytic converter, learn the steps involved with examining the exhaust system.
Step 1 – Look for Exhaust Leaks
Leaks can be visible or audible. Look under the vehicle for leaks that you can see. Pay attention to the following areas:
- Welds – look for breaks, cracks or corrosion.
- Pipe connections – check for improper alignment or burned gaskets.
- Clamp connections – ensure there are no leaks.
- Flex pipe – a common area for failure, make sure there are no leaks.
To check for audible leaks, take the vehicle for a test drive and listen for any unusual sounds coming from the exhaust system. While you’re in the car, it’s a good time to check for the smell of exhaust gases in the cabin of the vehicle.
Correct and repair any leaks in the exhaust system.
Step 2 – Replace Damaged Parts
Check the hangers and isolators for wear, and look for any loose, damaged or missing parts. Replace any parts that have failed.
Step 3 – Check for Blockages
Check for blockages in the exhaust system by performing an engine vacuum or backpressure test.

Step 4 – Inspect the Catalytic Converter
Examine the catalytic converter. Before replacing the catalytic converter, be sure to:
- Retrieve and repair all PCM trouble codes.
- Check for any technical service bulletins (TSB) or any updates on the PCM.
Step 5 – Check Fuel Control
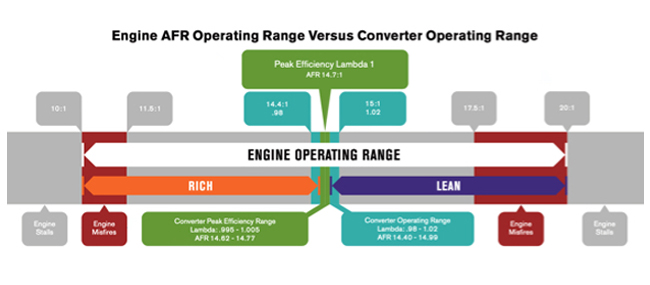
Make sure the vehicle is in proper fuel control and is at operating temperature and that it is in closed loop. Next, check oxygen sensors. Under normal operating conditions, the front oxygen sensor should be around 450MV and the rear sensor should be between 650MV and 850MV.

Step 6 – Test for Contamination
Make sure there are no fluids or coolant that is getting in the exhaust causing premature wear or failure.
Step 7 – Select the Right Catalytic Converter
If you determine that you need a new catalytic converter, make sure you select the right Walker® catalytic converter for your vehicle based on your state’s emission regulations.
Learn more about quality commercial vehicle exhaust parts, find the right heavy duty part, or find a local repair shop today.
The content contained in this article is for informational purposes only and should not be used in lieu of seeking professional advice from a certified technician or mechanic. We encourage you to consult with a certified technician or mechanic if you have specific questions or concerns relating to any of the topics covered herein. Under no circumstances will we be liable for any loss or damage caused by your reliance on any content.